
基本信息
 操作系统:CentOS Release 6.3 (Final)内核版本:Kernel Linux 2.6.32-279.el6.x86_64Oracle版本:Oracle 11g Release2安装包:linux.x64_11gR2_database_1of2.zip、linux.x64_11gR2_database_2of2.zip
安装准备
上传安装文件
将两个压缩文件覆盖解压后得到文件夹database,借助SSH工具上传到服务器上,目录如:/home/database
创建组
# groupadd dba# groupadd oinstall
创建用户
# useradd –g oinstall –G dba oracle
修改用户密码
# passwd oracle
创建安装目录
# mkdir -p /opt/oracle/product/11.2/db_1# mkdir -p /opt/oraInventory# mkdir -p /opt/oracle/oradata# mkdir -p /var/opt/oracle
设置目录的所有者、所属组和权限
# chown -R oracle.oinstall /opt/oracle# chown -R oracle.oinstall /opt/oracle/oradata# chown -R oracle.oinstall /opt/oracle/product/11.2/db_1# chown -R oracle.dba /opt/oraInventory# chown oracle.dba /var/opt/oracle# chmod -R 775 /opt/oracle# chmod -R 755 /var/opt/oracle
设置用户oracle的环境变量
# su – oracle# vim /home/oracle/.bash_profile
在文件中添加如下:
export ORACLE_BASE=/opt/oracleexport ORACLE_HOME=$ORACLE_BASE/product/11.2/db_1export ORACLE_SID=orclexport ORACLE_OWNER=oracleexport ORACLE_TERM=vt100export PATH=$PATH:$ORACLE_HOME/bin:$HOME/binexport PATH=$ORACLE_HOME/bin:$PATHLD_LIBRARY_PATH=$ORACLE_HOME/lib:/lib:/usr/lib:/usr/local/libexport LD_LIBRARY_PATHCLASSPATH=$ORACLE_HOME/JRE:$ORACLE_HOME/jlib:$ORACLE_HOME/rdbms/jlibCLASSPATH=$CLASSPATH:$ORACLE_HOME/network/jlibexport CLASSPATHPATH=$PATH:/usr/sbin; export PATHPATH=$PATH:/usr/bin; export PATHORA_NLS33=$ORACLE_HOME/nls/admin/data
保存退出,执行以下命令使得配置立刻生效或使用Oracle重登陆系统
# source $HOME/.bash_profile
开始安装
进入数据库安装文件(database文件夹)所在目录,如:/home/,为所有用户授权
# chmod –R 777 database
切换到oracle用户,使用oracle重登陆或使用下面命令切换用户
# su – oracle
进入database目录,运行安装文件开始安装
# ./runInstaller
进入图形化界面,一步步安装,取消勾选I wish…(依照个人),点击Next,弹出确认框再点Yes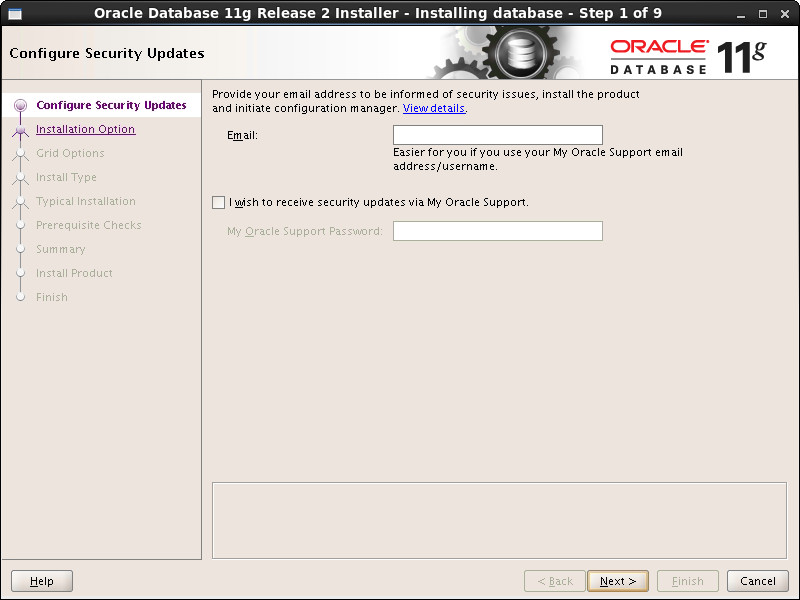
三选一界面,选择第二项:Install database software only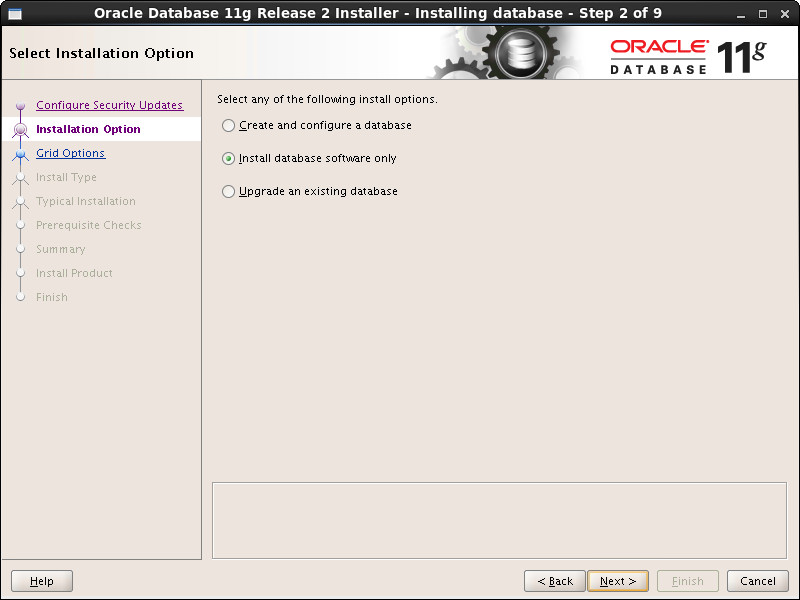
保持默认:Singel instance database installation,点击Next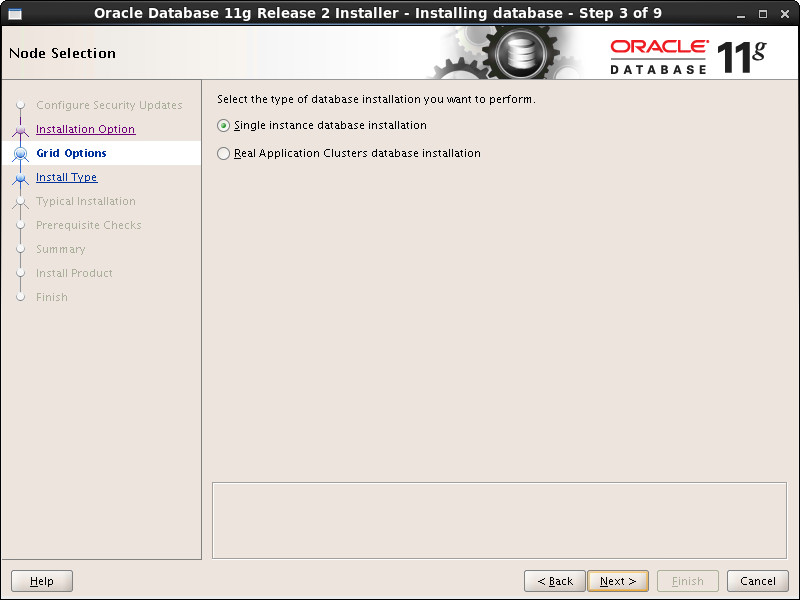
选择产品语言,默认英语,附加选择了简体中文,点击Next 
选择数据库版本,默认企业版,点击Next
配置Oracle安装目录,由于安装前环境变量的配置,安装程序自动读取配置,自动选择好了Oracle Base和Software Location,如图所示,点击Next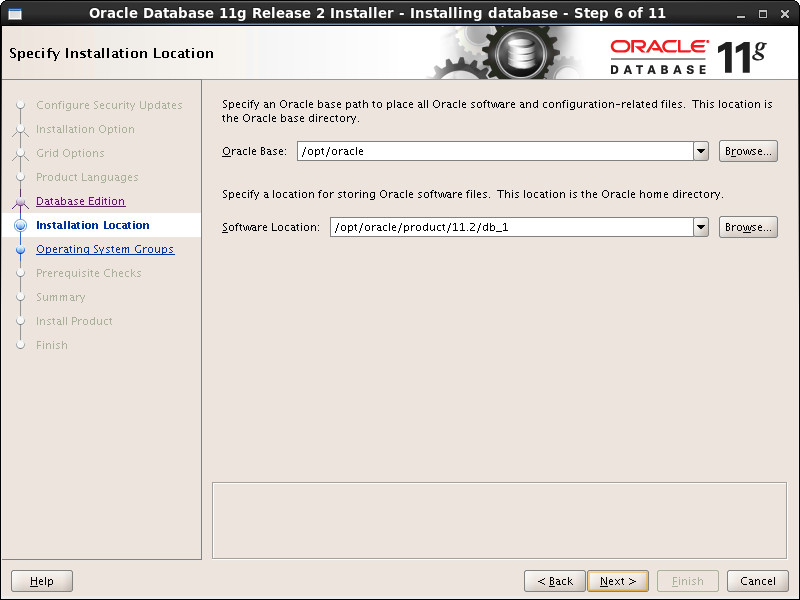
同上,Oracle Inventory Directory目录也自动选择好了,oraInventory Group Name选择安装前创建的组dba,点击Next
保持默认,两个组都选择的dba,点击Next
安装检查中
检查结束,不满足条件列表
解决以上错误,新建命令行窗口,切换到root用户,需要输入root的密码
# su – root
修改进程数和最大会话数的设置,执行
# vi /etc/security/limits.conf
(在该文件的最后追加下面四行)
oracle soft nproc 2047oracle hard nproc 16384oracle soft nofile 1024oracle hard nofile 65536
系统内核参数设置
# vi /etc/sysctl.conf
(在该文件后追加以下内容)
kernel.sem = 250 32000 100 128net.ipv4.ip_local_port_range = 9000 65500fs.file-max = 6815744net.core.rmem_default = 262144net.core.rmem_max = 4194304net.core.wmem_default = 262144net.core.wmem_max = 1048576fs.aio-max-nr = 1048576
保存退出,立即生效执行:
# cd /etc# sysctl -p
安装以下列表中的包(使用yum在线安装),其中pdksh-5.2.14没有找到,不安装也没有问题
-libaio-0.3.105(i386)-libaio-devel-0.3.105(i386)-libaio-devel-0.3.105(x86_64)-glibc-2.3.4-2.41(i686)-compat-libstdc++-33-3.2.3(i386)-compat-libstdc++-33-3.2.3(x86_64)-gcc-c++-3.4.6(x86_64)-elfutils-libelf-devel-0.97(x86_64)-libgcc-3.4.6(i386)-libstdc++-3.4.6(i386)-unixODBC-2.2.11(i386)-unixODBC-2.2.11(x86_64)-unixODBC-devel-2.2.11(i386)-unixODBC-devel-2.2.11(x86_64)-pdksh-5.2.14(x86_64)
以上步骤完成后点击按钮Check Again,发现不满足列表并没有清除,而是少了一些,此时勾选右侧复选框Ignore all即可向下安装了,直到安装完成。
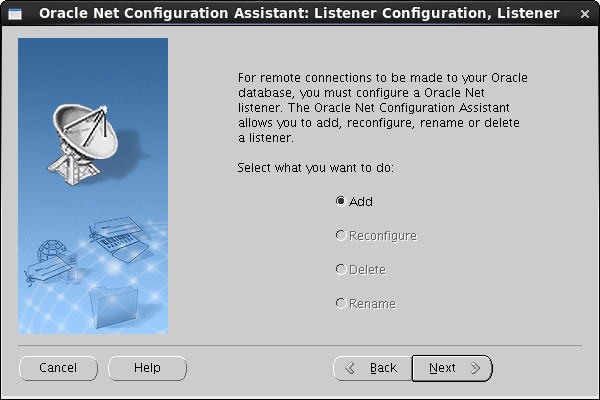
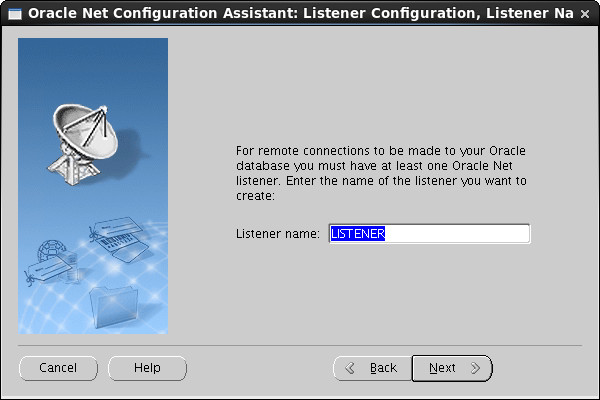
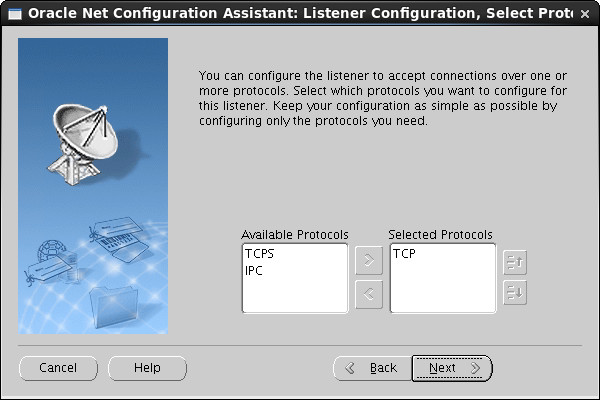
安装监听器
使用oracle用户登陆系统或在命令行窗口切换到oracle用户,执行
# netca
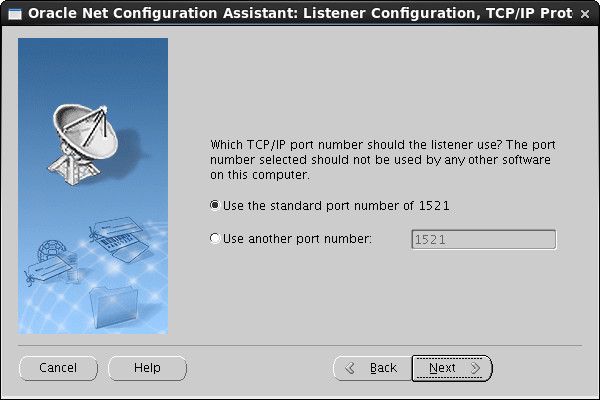
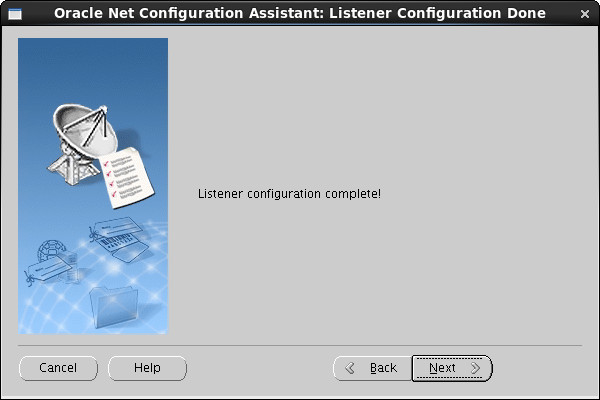
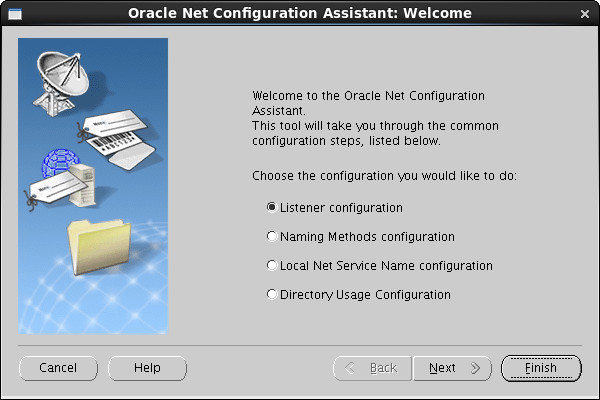
进入图形化配置,直接默认下一步,到最后完成,其中你也可以修改监听去的名称,协议,端口。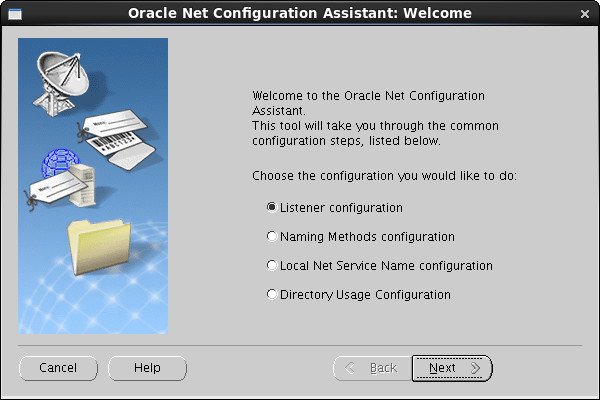

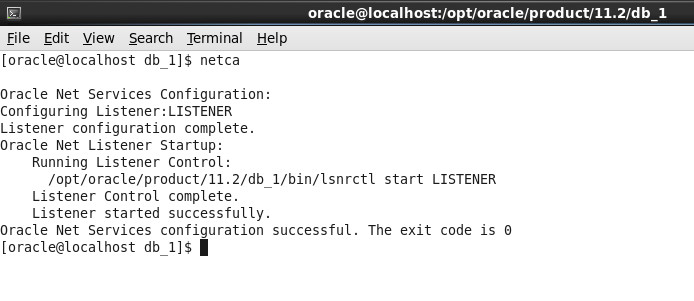
安装完成后可以使用如下命令来查看监听是否配置成功
# ps –ef
安装数据库程序
执行
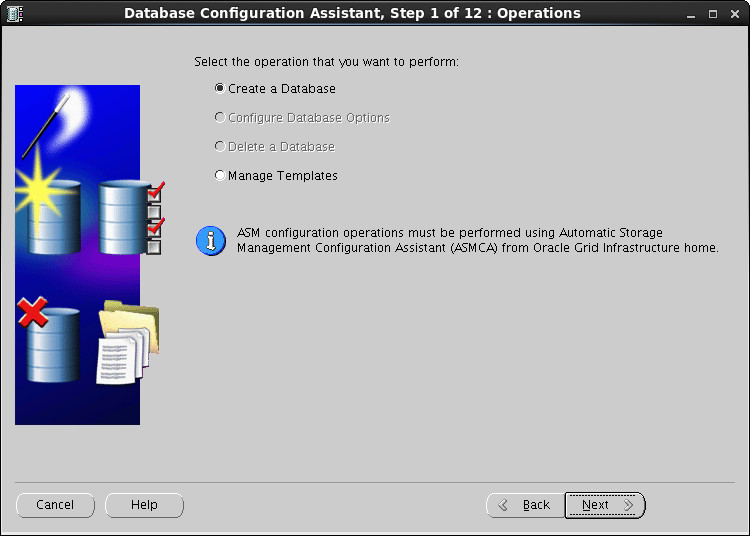
# dbca
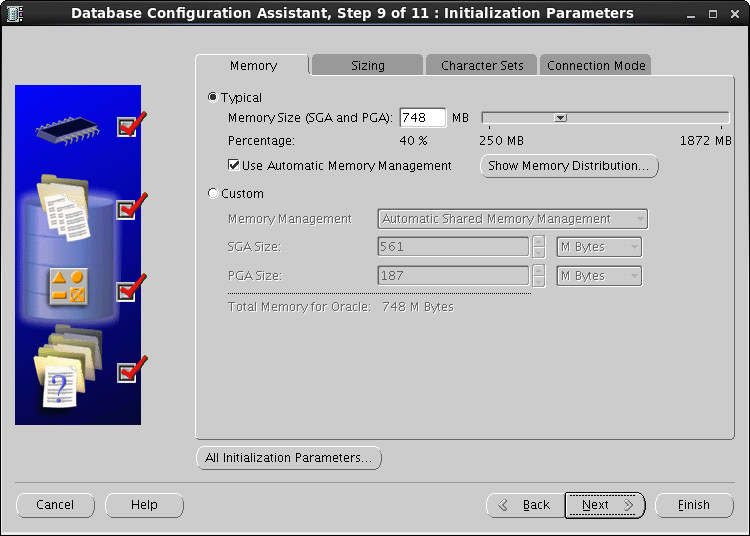
进入图形化配置界面,几乎全Next

配置全局数据库名称,如果该服务器只安装这一个数据库建议使用orcl,鉴于习惯作
备配置四个内置超级管理员密码,建议统一密码,便于记忆用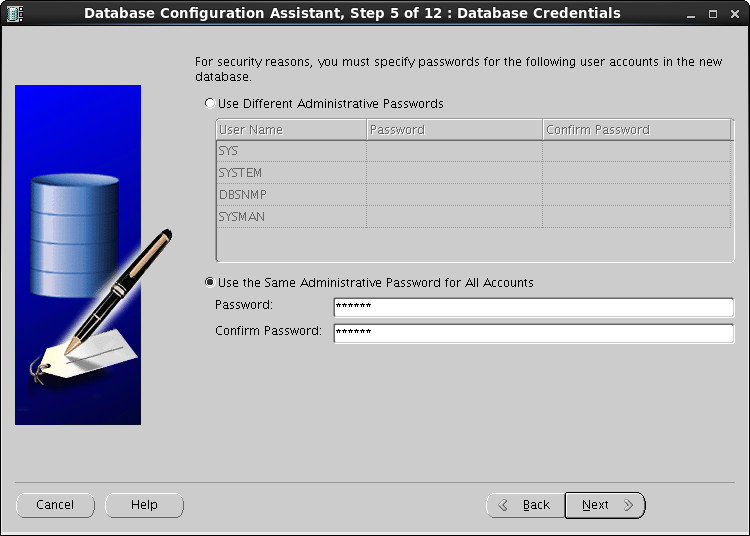
提示密码过于简单,不管它,点击Yes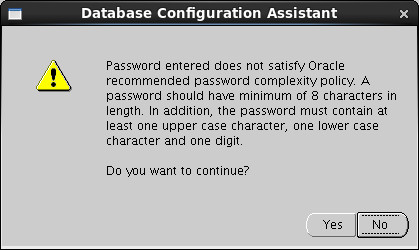


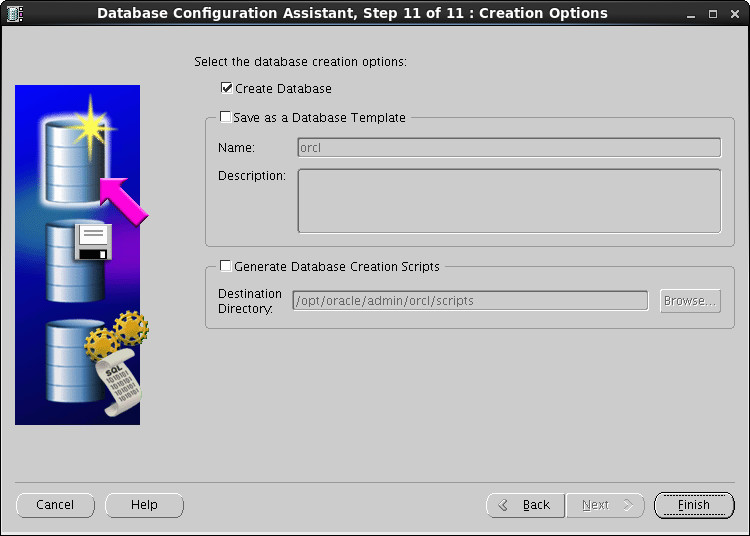
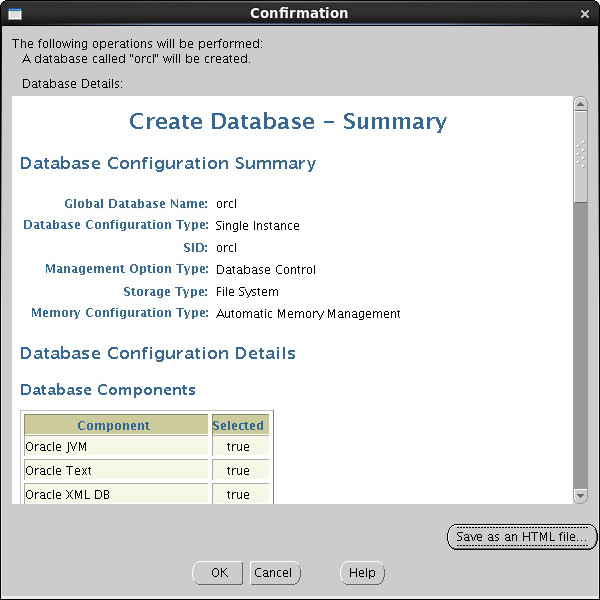
到这数据库实例就算创建完成了!并且会自动启动!
PS:10g客户端连接11g服务器需要手动修改客户端文件,如下:
X:\oracle\product\10.2.0\client_1\network\ADMIN
文件名:
tnsnames.ora
修改前不要忘记备份原文件,手动配置要连接的11g数据库连接信息,如:
ORCL_11g = (DESCRIPTION = (ADDRESS_LIST = (ADDRESS = (PROTOCOL = TCP)(HOST = 172.25.78.88)(PORT = 1521)) ) (CONNECT_DATA = (SID = orcl) (SERVER = DEDICATED) ) )
其中:
ORCL_11g为本地连接服务名
172.25.78.88为数据库所在服务器IP
你会发现CONNECT_DATA内部和10g的配置不同,这就是区别,导致PL/SQL连不上11g
参考:http://www.cnblogs.com/zhangyongli2011/archive/2012/04/04/2431953.html
http://www.linuxsight.com/blog/238


相关推荐
【Linux 64bit下Oracle11g安装手册】 在64位的Linux系统中安装Oracle 11g是一项技术性的工作,特别是对于初学者来说。在这个过程中,我们需要确保操作系统、内核版本以及Oracle软件版本的兼容性。本文将详细阐述在...
Linux-64bit下Oracle11g安装手册.docx
《Oracle安装手册》,Linux环境配置脚本,pdksh安装包,图文并茂,Oracle11g详细安装教程,包括WindowsServer2008R2SP164bit和RedHatEnterpriseLinux64bit。
### Linux中Oracle 11g的安装指南 #### 一、Oracle安装环境检测 ...以上是针对Linux环境下Oracle 11g的安装手册的概要总结。通过遵循这些步骤,可以顺利完成Oracle 11g的安装,并确保其在Linux环境下的稳定运行。
Oracle 11g 数据库的安装过程涉及多个步骤和系统配置要求,本文将详细讲解如何在Linux环境下进行安装。首先,我们需要准备安装介质,本手册以ORACLE 11g for Linux X86_64为例。主机配置方面,推荐使用类似华为22852...
### RHEL 5.X 64bit + Oracle 11g 安装手册知识点解析 #### 一、前期准备工作 **1.1 安装操作系统** - **目标平台**: RHEL 5.5 x64 - **系统版本**: Red Hat Enterprise Linux Server release 5.5 (Tikanga) - **...
在Linux Ubuntu 32位系统上安装Oracle 11g是一项技术性较强的任务,涉及到操作系统配置、依赖安装、用户权限管理以及数据库实例的创建等多个环节。以下是对这一过程的详细说明: 1. **系统需求与准备**: - 操作...
### Linux下Oracle11g安装手册 #### 一、Linux系统安装注意事项 在准备安装Oracle 11g之前,确保Linux系统的配置满足以下最低要求: 1. **内存配置**:建议至少配备2GB以上的内存。 2. **磁盘空间**:磁盘空间...
Oracle 10g 10.2.0.1 在Oracle Linux 5.4 32Bit RAC安装手册(一抹曦阳) step by step
在这个场景下,"LINUX 64位ORACLE 11G安装BBED所需文件"的描述意味着我们要讨论的是在64位Linux环境下安装Oracle 11g数据库时需要用到的特定工具——BBED。 BBED(Binary Buffer Editor)是Oracle提供的一种二进制...
Oracle 12C在Oracle Linux 6.5 64Bit安装手册是一份针对数据库管理员和IT专业人士的详细文档,旨在指导用户在64位Oracle Linux 6.5操作系统上安装Oracle Database 12c Release 1(12.1)。手册按照安装流程逐步介绍...
### 64bit CentOS 5.7 Oracle 10g 安装手册 #### 一、准备工作 在开始安装Oracle 10g之前,需要确保已经下载了正确的Oracle Database 10g Release 2 (10.2.0.1)安装包。此版本适用于64位CentOS 5.7操作系统。下载...
在Linux 64位操作系统下安装Oracle WebLogic Server 11g Release 1(10.3.6版本)是企业应用服务器领域的一项重要技术实践。以下内容将详细介绍在Linux 64位系统(如CentOS 6.3 Final)上安装WebLogic 11g的步骤和...
有很多童鞋不知道ORACLE在LUNIX环境下是如何装的,在这里我提供文档,如果需要RPM包也请在我这里下载
Oracle 11g R2 数据库在64位Linux上的安装是一个复杂的过程,涉及多个步骤和组件。在开始之前,确保你已经准备了正确的软件和硬件环境。以下是一些关键的知识点,涵盖从安装前的准备到数据库创建的整个过程。 ### 1...
### CentOS 5.3 下安装 Oracle 10G 超详细教程 #### 一、前期准备 在开始安装过程之前,确保以下准备工作已完成: - **操作系统**: CentOS 5.3 i386 版本。 - **Oracle 10G 完整版**:下载并准备好安装文件。 - **...